
Guide
Mounting Solar Panels on an RV Roof: A Practical Guide
The short answer
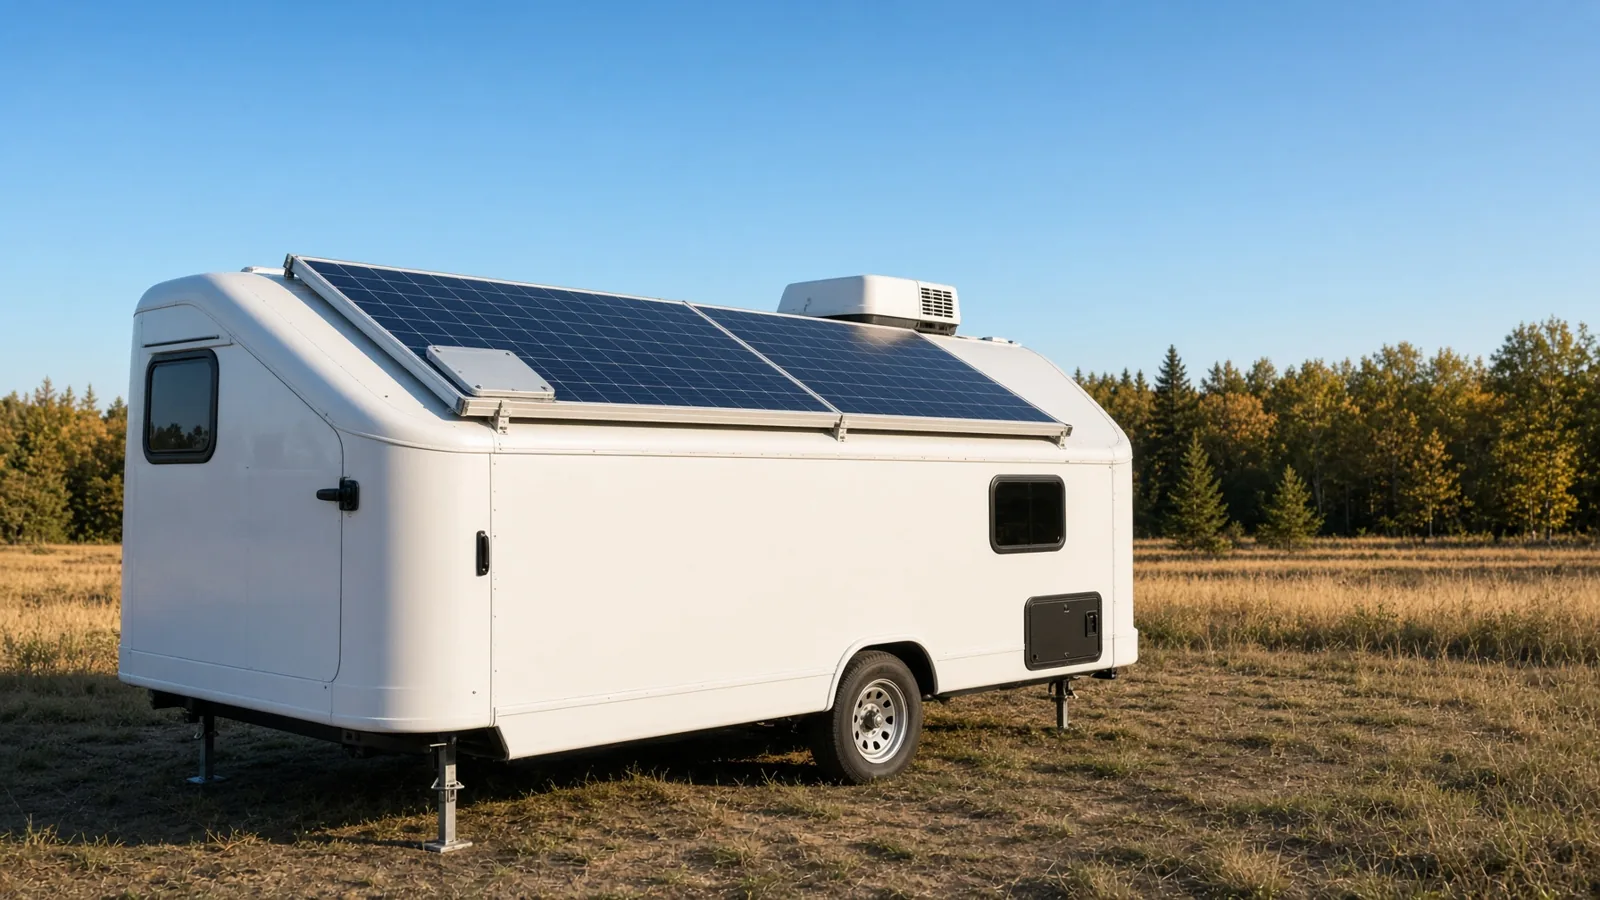
Mounting solar panels on an RV roof comes down to four decisions: how the panels attach, what the roof deck is actually made of, how every hole gets sealed, and how the cable reaches the charge controller. For most travel trailers, fifth wheels and Class C motorhomes, anodized aluminum Z-brackets or short mini-rails bedded in butyl tape and capped with self-leveling lap sealant do the job. A self-installed system costs roughly $1.10 to $1.75 per watt, and a 200W array parked in the US sun belt makes about 900 to 1,050 watt-hours a day.
How to mount solar panels on an RV roof, step by step
1. Map the roof before you drill. A factory roof is usually a 25-30 mil EPDM or TPO membrane over 3/8-inch or 1/2-inch plywood or OSB, sitting on wood rafters or aluminum trusses. Find the framing with a stud finder, a thermal camera or the factory diagram, then set a drill depth stop at 3/4 inch so you cannot punch through 12V control cable, 120V AC wiring, a ceiling duct or a tank vent.
2. Plan the attachment. Rigid panels need 1 to 1.5 inches of air gap under the frame for convective cooling, because crystalline cell output drops about 0.4% for every degree Celsius above 25C. That gap is structural, not cosmetic.
3. Lay down the gasket. Cut butyl tape to the footprint of each bracket foot and press it over the mounting holes. Butyl never fully cures, so it keeps filling substrate voids and sealing the fastener shanks years later. A caulk bead alone is not a gasket.
4. Fasten into structure, not just skin. In thin 3/8-inch plywood a #10 self-drilling screw develops only about 50-80 lbs of pull-out strength. An expanding neoprene well nut in a 3/8-inch hole spreads into a rubber bulb under the deck, a PlusNut in fiberglass or aluminum skin is rated above 350 lbs, and a 1/4-inch lag screw driven into a 1.5-inch rafter holds more than 500 lbs.
5. Seal in two layers. Tighten until the butyl squeezes out around the foot, then cap the bracket base and the screw head with a continuous mound of Dicor 501LSW self-leveling lap sealant. It skins in 5 to 30 minutes, is waterproof in about 4 hours, reaches 80% cure in 48 hours and fully cures in 30 days.
6. Bring the cable through one plate. A dual cable-entry housing is bedded in butyl tape over a single roof hole; marine IP68 glands are lower profile but need one hole per cable. Clip MC4 connectors off the deck with UV-stable clips so they never sit in pooled water.
7. Size the wire for under 3% drop. A 12V DC run loses voltage as 2 x L x I x rho / A. At 20 feet and 15 amps, 10 AWG copper drops 6.20% and 8 AWG still drops 3.89% — which is why long RV runs step up to 6 AWG. Protect the array at 1.56 x Isc to cover cloud enhancement.
8. Reinspect twice a year. Look for cracked or lifted sealant, re-torque the M6 frame bolts, and check cable ties for chafe and UV damage before any long trip.
Mounting methods compared
- Direct Z-brackets - the RV industry default. $9.99 to $26.46 for a four-bracket kit, 1.0-1.5 hours per panel, best airflow, but all the uplift load lands on four holes.
- Mini-rails and strut channel - $29.99 to $86.87 per array and 2.0-3.5 hours. Load spreads across several fasteners and panels lift off for service, at the cost of extra height and drag.
- Flexible panels bonded with adhesive - $28 to $45 per panel and only 0.75-1.25 hours, with no penetrations at all, but no under-panel airflow and shear stress where the polymer and membrane expand at different rates.
- Tilt-up legs - $21 to $97.99 per panel. Tilting toward the low winter sun adds 20-30% more daily yield, but the legs have to be retracted and pinned before you drive.
- Roof-rack clamping - $40 to $120 per array. Uses existing cargo rails, leaves the membrane untouched and suits complicated roof layouts.
What works and what does not
- Rigid monocrystalline panels weigh 1.8-2.3 lbs/ft2 against roof ratings of 20-25 lbs/ft2, so total weight is rarely the limit - concentrated load at four points is.
- Flexible panels are far lighter at 0.4-0.8 lbs/ft2, but without tempered glass their cells micro-crack under foot traffic and impacts.
- 3M 5200 cures over 7-10 days and bonds permanently; removing a bracket later can tear the fiberglass skin. Sikaflex 252 skins in 40 minutes, reaches roughly 360 psi lap shear and stays serviceable.
- Panels tucked flush behind the air conditioner shrug off airflow; panels at the leading edge of the roof see 70+ mph uplift and fatigue their forward brackets first.
- Tempered glass modules carry a UL 1703 / IEC 61215 rating for 1-inch hail and static loads near 50 lbs/ft2. That rating protects the panel, not the sealant around it, and the sealant is what fails.
Who this is for
This guide is for travel trailer, fifth wheel, Class C and skoolie owners who intend to drill their own roof and keep it watertight. If the rig is still covered by a roof warranty, stay with adhesive or rack mounting, because unapproved penetrations and petroleum-based caulk on EPDM void membrane coverage. Full-timers may prefer the professional route: RV shops charge $3.25 to $5.50 per watt with labor at $150 to $220 per hour, which buys roof routing, commissioning and a workmanship warranty.
FAQ
Do I have to drill into my RV roof? No. Flexible panels bond down with 3M VHB tape and rack systems clamp to existing rails. Both avoid penetrations, but adhesive panels run hotter and racks raise your overall clearance.
How many brackets does one panel need? Four is standard up to about 200W. Step up to six for 400W-class modules so uplift is shared across more of the deck.
What is the best sealant for an RV solar install? Dicor 501LSW self-leveling lap sealant over a butyl tape gasket is the standard pairing on EPDM and TPO. Never use petroleum-based caulk or mineral spirits on EPDM.
Can I screw straight into the plywood deck? You can, but a #10 screw in 3/8-inch plywood holds only 50-80 lbs. Aim for rafters, blocking or a blind fastener such as a well nut or PlusNut.
How much power will a 200W panel really make? With 5.5-6.5 peak sun hours and a 0.81 derate for heat, wiring and controller losses, expect 891-1,053 Wh per day, or roughly 75-90 amp-hours into a 12V battery bank.
Will roof panels shade my air conditioner? Only if you place them badly. Keep 12-18 inches of clearance around AC units, vents and antennas, and wire sub-strings in parallel so one shaded panel does not throttle the whole array.